
My landlord’s lease has a clause about “no holes larger than a picture nail,” and my cat Nina has an unshakable belief that she should be able to survey her kingdom from six feet up. For a long time those two facts felt impossible to reconcile. Then I discovered that DIY cat shelves don’t have to mean drilling into studs and forfeiting your deposit. With the right mounting tricks, you can give your cat a full vertical playground and take it all down on moving day without leaving a mark.
This guide walks through renter-safe DIY cat shelves from start to finish: how to mount without permanent damage, what materials to use, how to lay out a route your cat will actually climb, and how to keep the whole thing safe. Everything here is designed for small apartments and cautious landlords.
Why vertical space matters so much for cats
Cats are climbers by instinct. Height gives them safety, a vantage point, and a way to claim territory without conflict, which matters enormously in a small apartment where floor space is scarce. A wall of DIY cat shelves effectively doubles your cat’s usable world without taking a single square foot from yours.
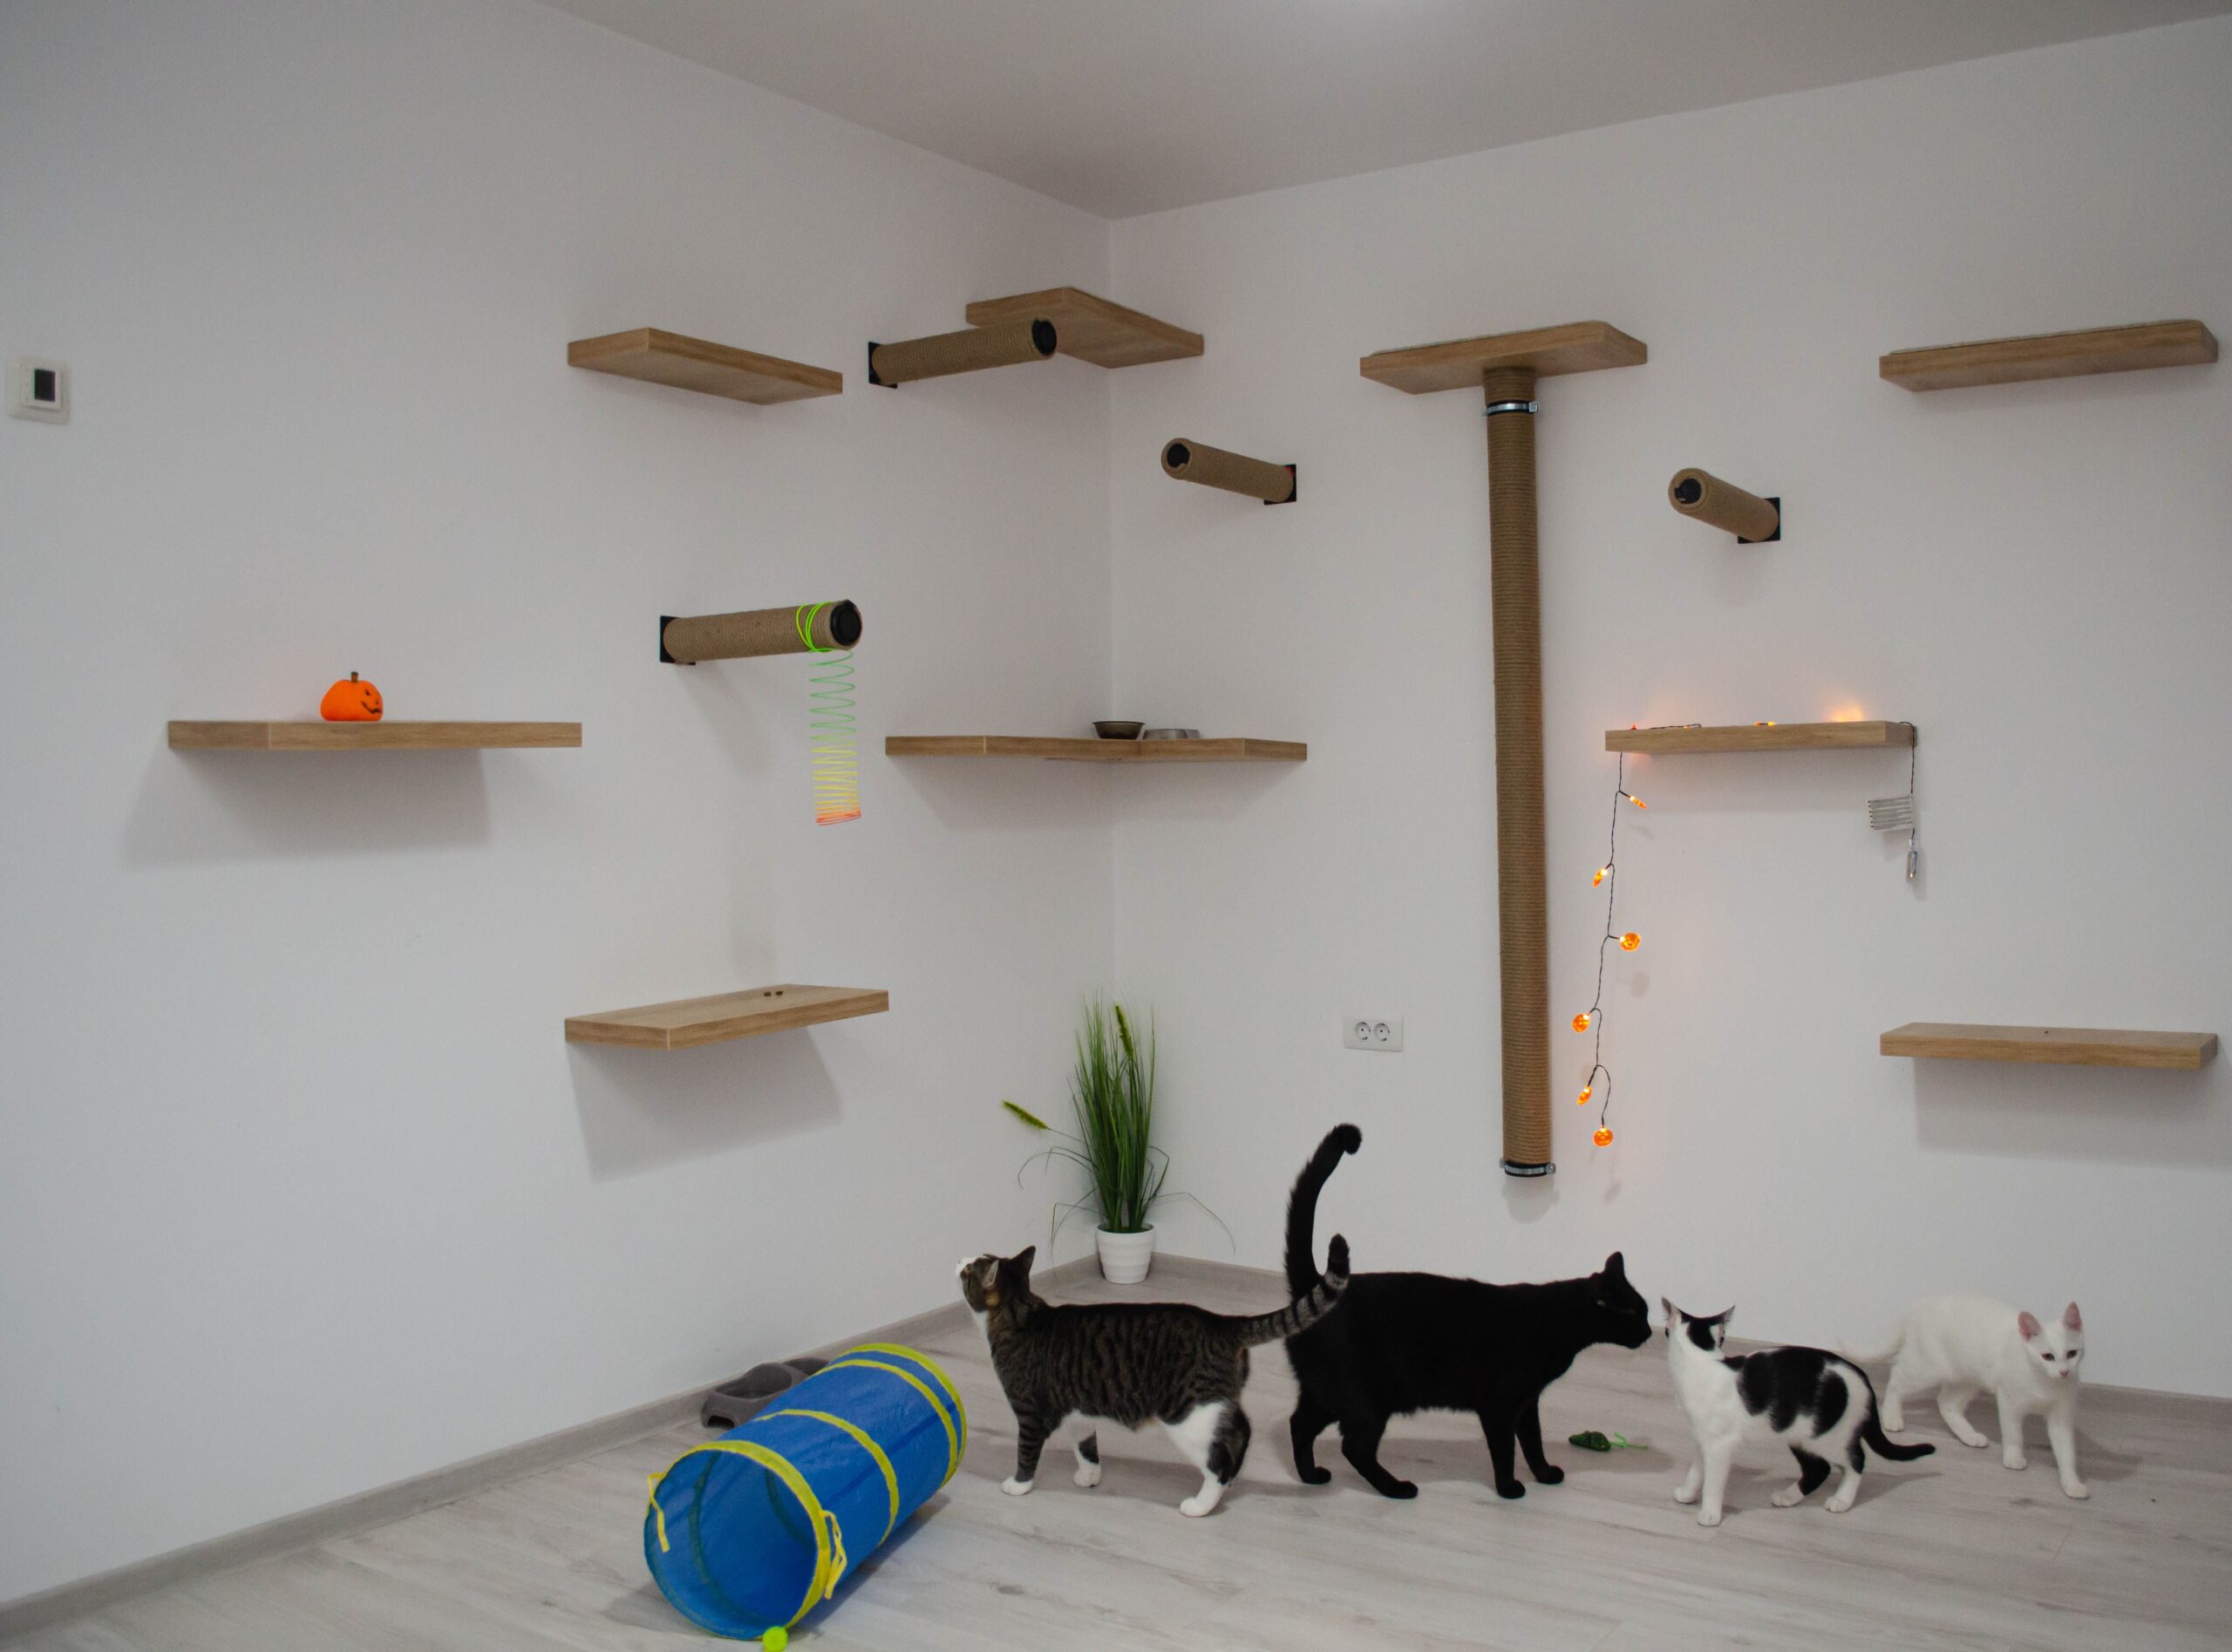
Beyond enrichment, vertical routes help multi-cat households keep the peace, give shy cats an escape route, and turn an ordinary wall into daily exercise. For indoor cats especially, that climbing outlet prevents a lot of the boredom that leads to scratched furniture and 3 a.m. chaos.
Renter-safe mounting: no drilling required
The whole trick to renter-friendly DIY cat shelves is the mounting method. You have a few genuinely reliable options that leave walls intact, and you can mix them depending on your wall type and how much weight each shelf needs to hold.
Heavy-duty adhesive strips
Command-style picture strips rated for 7 to 16 pounds can hold a lightweight shelf that carries a small cat, as long as you stay well under the rating and distribute weight across several strips. They peel off cleanly with no holes. This is best for smaller cats and lighter shelves, and you should always test stability before letting your cat up.
Tension poles and freestanding frames
A floor-to-ceiling tension pole system supports shelves, perches, and steps without touching the wall at all. It’s the sturdiest no-damage option for bigger cats, and it leans on the pressure between floor and ceiling rather than any fastener. Freestanding ladder-style shelf units work the same way.
Small-anchor compromise
If your lease allows small picture-nail holes, tiny pin-style anchors leave marks smaller than a grain of rice and patch invisibly with a dab of filler. For a heavy climbing route, a couple of these under adhesive shelves add a big margin of safety while staying within most lease rules.
Materials and a simple build
You don’t need a workshop. A basic set of DIY cat shelves comes together from pre-cut wood boards, carpet or sisal for grip, and your chosen mounting hardware. Here’s a straightforward shopping list for a three-shelf route:

- 3 pine boards, about 12 by 20 inches, sanded smooth (roughly $6 to $10 each).
- Carpet remnant or sisal to cover the tops for traction (a $5 offcut is plenty).
- Heavy-duty adhesive strips or tension-pole hardware for mounting.
- Strong fabric glue or a staple gun to attach the grip surface.
- A level, so each shelf sits flat and your cat trusts it.
Cover each board’s top surface with carpet or sisal so your cat has traction, let everything cure fully, then mount from the bottom up, checking each shelf holds firm before adding the next. Rushing the cure time is the most common reason a DIY cat shelf fails, so be patient here.
Designing a route your cat will actually use
Cats won’t climb a route that feels unsafe or awkward. Space the shelves so the vertical gap between them is a comfortable, confident hop, generally 12 to 16 inches for an adult cat, and stagger them left and right rather than stacking them straight up. Give each shelf enough depth for your cat to turn around, at least 10 to 12 inches.
End the route somewhere rewarding: a wide top perch by a window makes the climb worth it and doubles as a sunny nap spot. Place the lowest shelf near existing furniture so your cat has an easy on-ramp. According to the Humane Society’s cat behavior guidance, giving cats vertical territory and safe retreats is central to their wellbeing.
Safety checks before you let your cat up
Never skip the load test. Press down hard on each shelf with your hand, then set a weight heavier than your cat on it for a day before the first climb. Make sure there are no sharp edges or exposed staples, and confirm the top surface grips well so paws don’t slide.
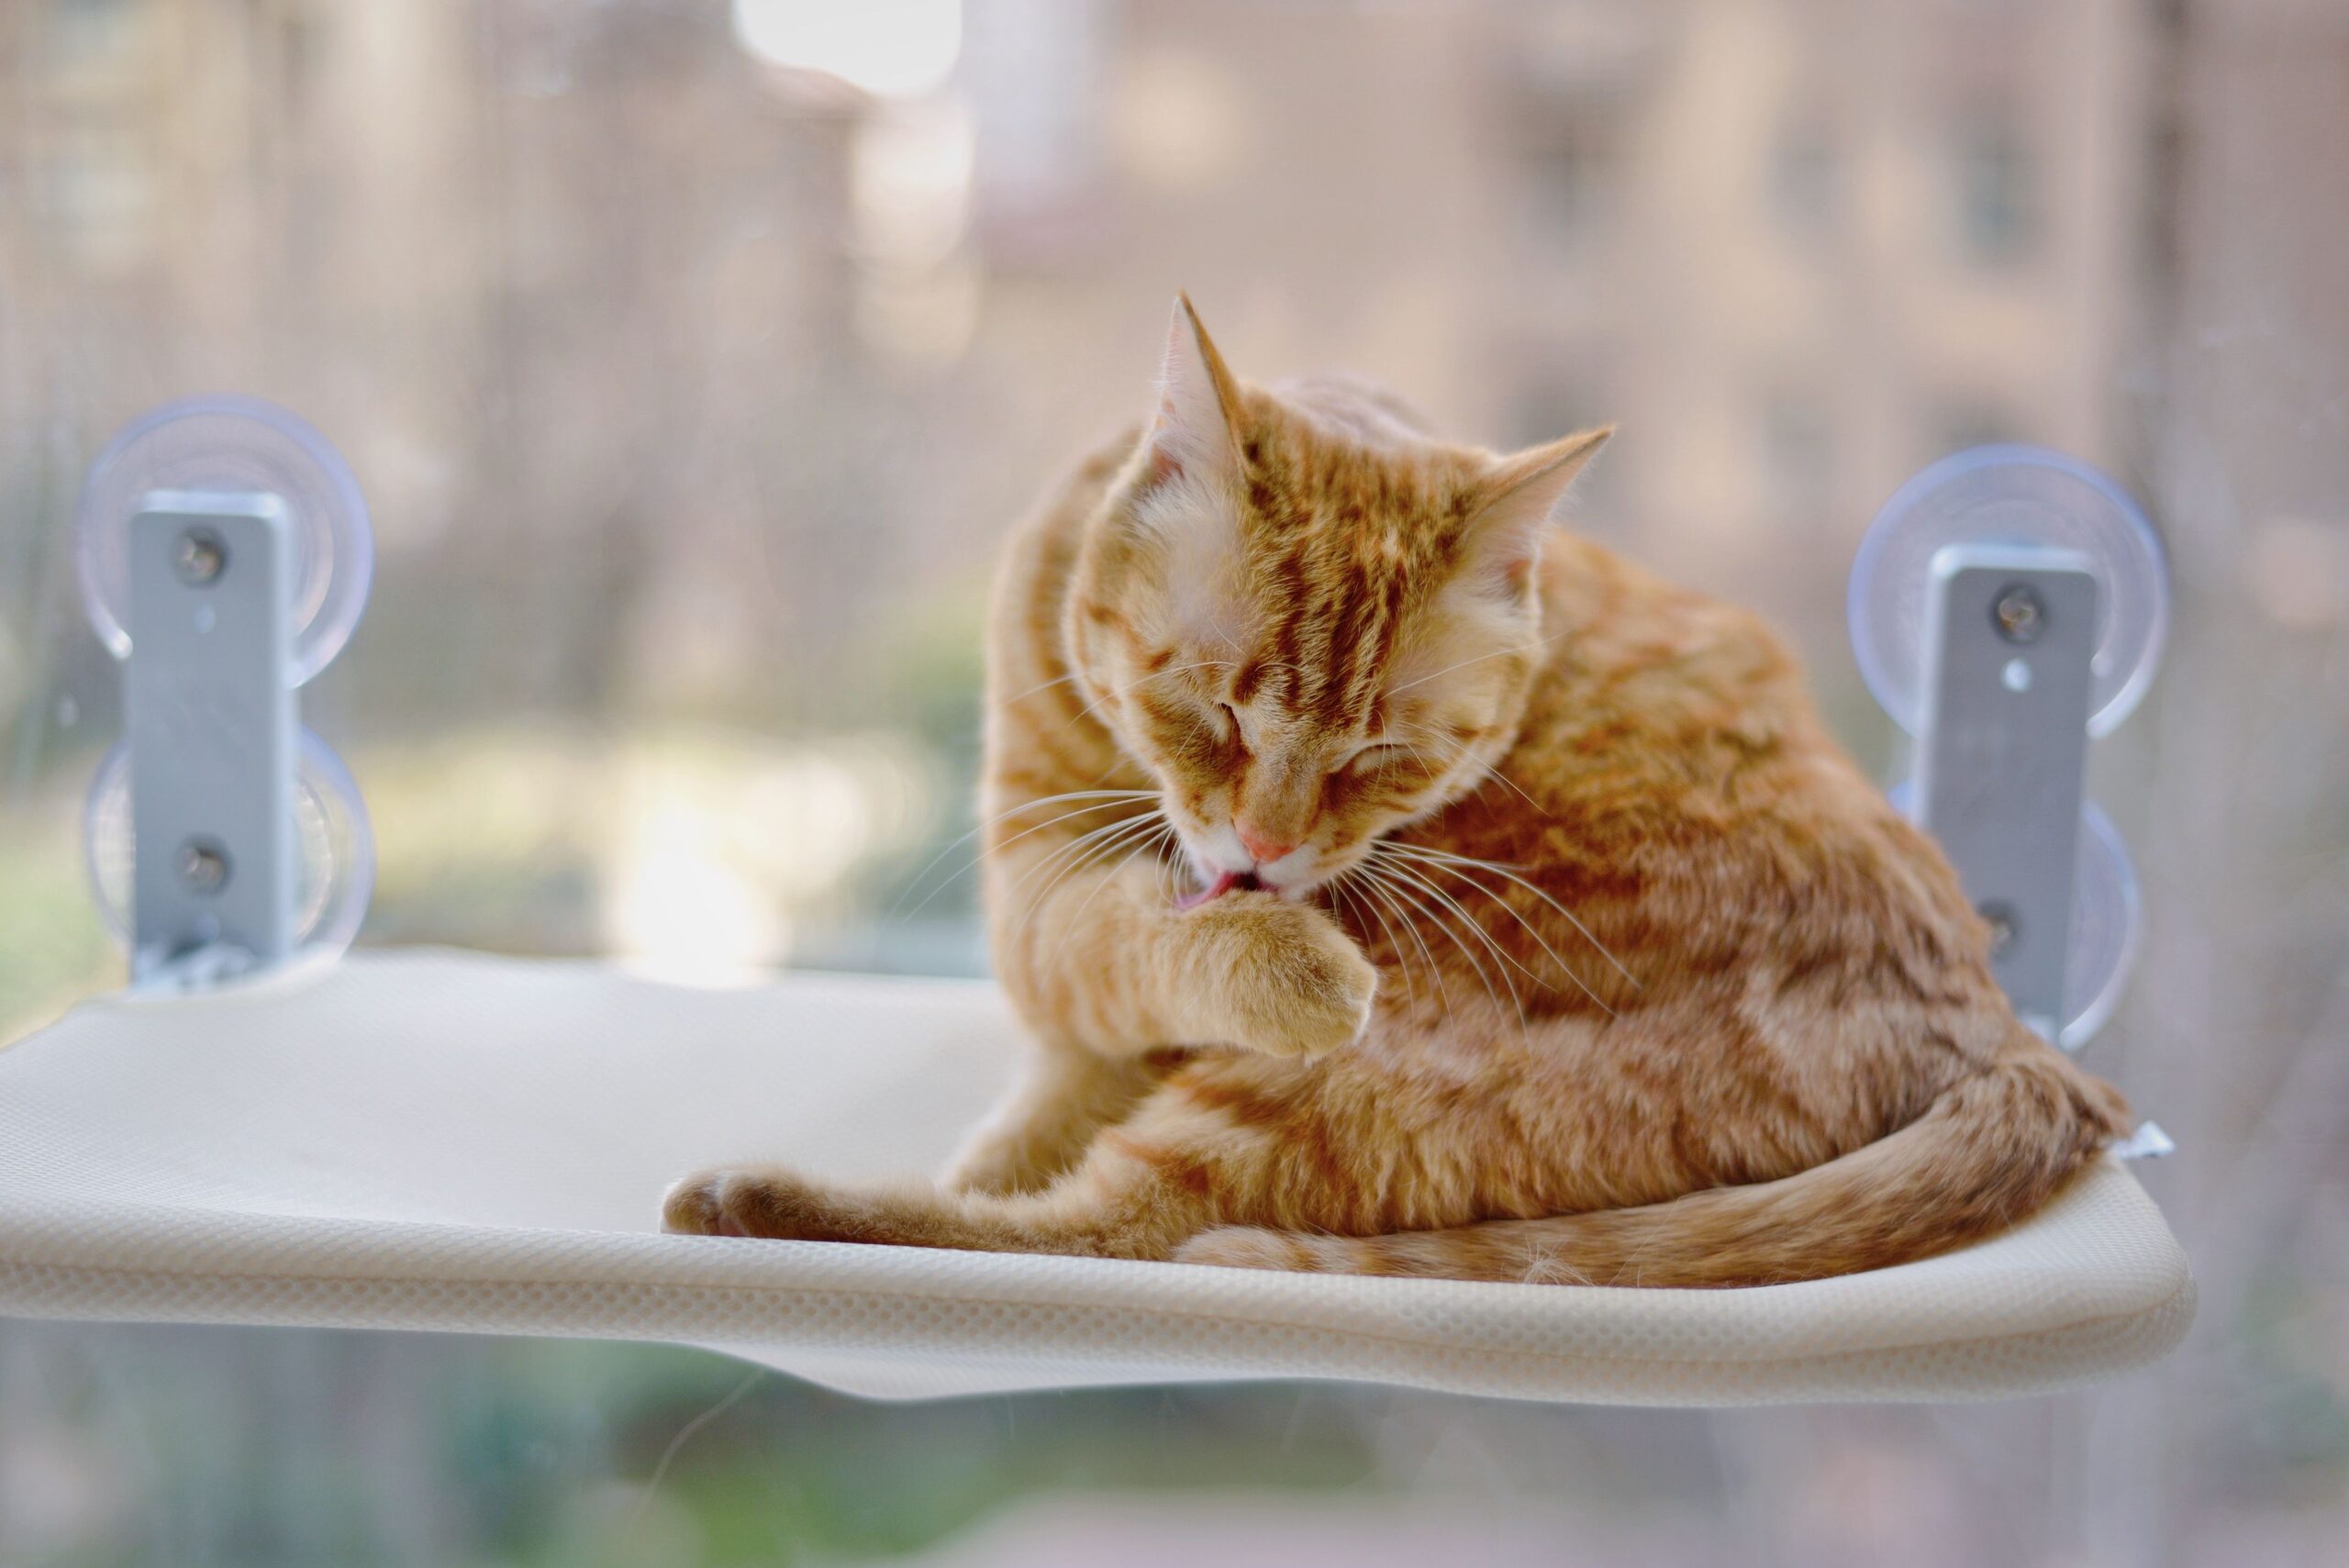
Re-check adhesive mounts every few weeks, since temperature and humidity can weaken them over time. If you have a heavy cat or a very enthusiastic jumper, lean toward tension-pole systems, which don’t rely on adhesion at all. For deeper care basics, the ASPCA’s general cat care page is a solid free reference.
Keep the shelves clean and cat-approved
DIY cat shelves collect fur and dust fast, so choose surfaces you can actually maintain. Removable carpet covers held on with hook-and-loop tape let you pull each pad off and toss it in the wash, which keeps a shelf route from becoming an allergen trap in a small apartment. A quick weekly vacuum with a brush attachment handles the rest.
Cats are famously particular, so make the shelves genuinely appealing. Rub a little catnip on a new shelf, or set a favorite blanket on the top perch, and most cats investigate within a day. If a shelf goes ignored, it is usually too high a jump or too narrow, so adjust the spacing rather than assuming your cat simply is not interested.
Budget and time expectations
A complete route of three to five DIY cat shelves typically costs $40 to $80 in materials, far less than the $150-plus you would spend on a commercial cat wall system. If you already own a drill-free mounting kit and some scrap wood, you can come in under $25. The build itself is a single afternoon of work, plus overnight cure time for glue and adhesive before the first climb.
Start with two or three shelves rather than a whole wall. You will learn how your particular cat climbs, which spacing they prefer, and how your walls hold the mounts, all before committing to a larger layout. It is far easier to add shelves to a route that is working than to rework an over-ambitious wall your cat refuses to use.
Adapting the route for kittens and senior cats
Not every cat climbs the same way, so tailor your DIY cat shelves to the cat you actually have. Kittens are fearless but uncoordinated, so keep early routes low with generous shelf depth and forgiving spacing while they build confidence and strength. You can raise the challenge as they grow, but starting too high risks a fall that makes a young cat wary of the whole setup.
Senior cats and heavier breeds need gentler jumps and wider landings, so drop the vertical gaps to eight or ten inches and add an extra intermediate step if needed. A carpeted ramp between two shelves can replace a jump entirely for an arthritic cat, letting an older friend still enjoy the height they love. The goal is a route that feels safe at every life stage, because a shelf a cat does not trust is a shelf a cat will never use.
Whatever your cat’s age, watch how they use the route for the first week and tweak it. A single repositioned shelf is often the difference between a wall your cat ignores and one they treat as their favorite highway through the apartment.
Final thoughts
Renter-friendly DIY cat shelves prove you don’t have to choose between a happy cat and your security deposit. Start with adhesive or tension mounts, build a simple staggered route that ends at a sunny perch, and load-test everything before the first climb. Put up just one shelf this weekend near a window, and watch how fast your cat claims the high ground as their new favorite spot.
Related reading
- How to Sew a No-Slip Pet Food Mat in 20 Minutes
- DIY Pet Gate Ideas for Renters (No Drilling Required)
- DIY Slow Feeder Ideas Using Things You Already Own
Fernanda Amaral writes about making small homes work for pets and their humans — apartment-friendly setups, budget care and organization that actually fits. She shares practical tips tested in real small spaces.