
If your pet’s bowls slide across the floor at dinnertime, scattering kibble and splashing water in a space you can’t spare, a food mat fixes it fast. Store-bought ones are either flimsy or overpriced, but you can sew a no-slip pet food mat in about twenty minutes with basic supplies and beginner skills. It catches spills, protects your floor, and stops the bowls from wandering. This guide walks through the materials, the simple steps, and the tricks that make it actually grip the floor.
Don’t worry if you’ve never sewn before. This is genuinely a beginner project: straight lines, one seam around the edge, and a single row of topstitching. If you can thread a machine and sew in a rough rectangle, you can sew a no-slip pet food mat that looks and works great.
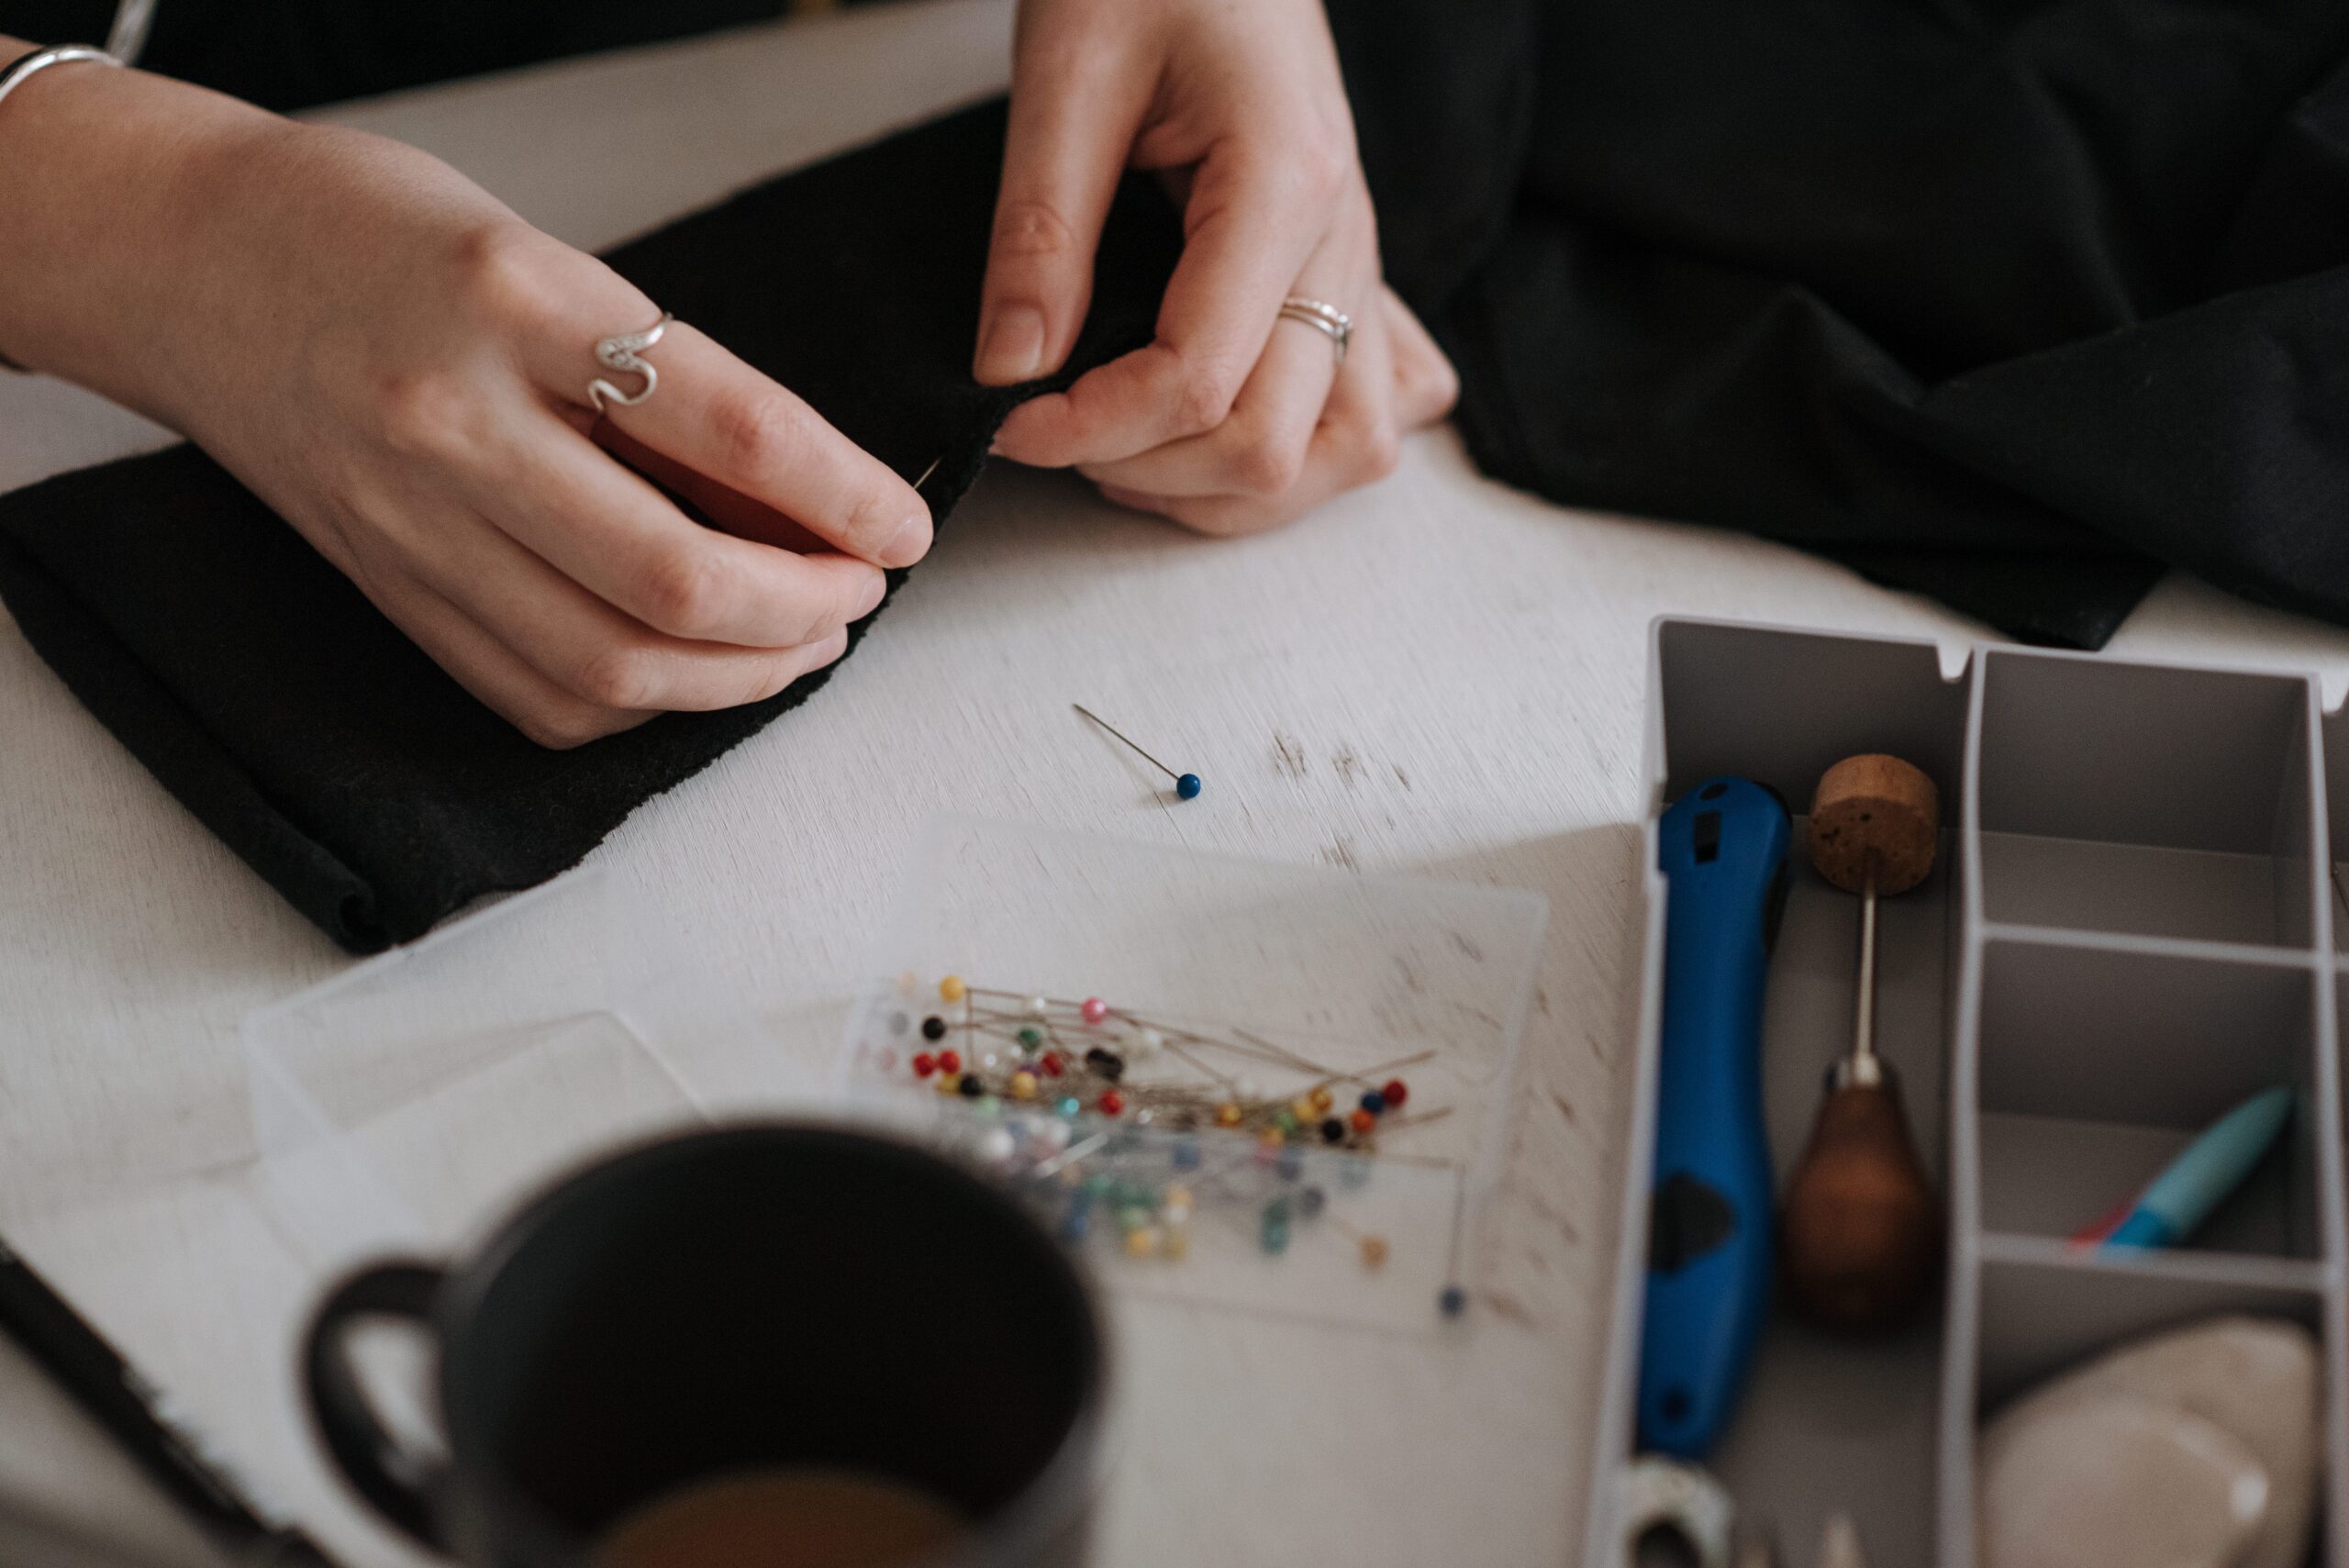
Why a food mat is worth making
In a small apartment, a feeding zone that sprawls into the walkway is a daily annoyance. A mat contains crumbs and drips to one wipeable spot, protects flooring from water damage and scratches, and keeps bowls from skating away as your pet eats. Making your own means you choose the size, the fabric to match your kitchen, and the exact grip you need. When you sew a no-slip pet food mat yourself, it costs a fraction of a store version and fits your space perfectly — the same DIY logic behind our DIY slow feeder ideas.
A mat also defines the feeding area visually, which matters more than it sounds in an open-plan studio. It tells your pet where meals happen and tells you exactly where to wipe. If you’re setting up the whole feeding zone, our guide to a pet feeding station in a tiny kitchen pairs a mat with smart placement so the whole setup stays compact and clean.
What you’ll need
Keep it simple: a top fabric (cotton or canvas, roughly 16 by 24 inches for two bowls), a waterproof backing such as PUL, oilcloth, or an old vinyl tablecloth, a scrap of non-slip shelf liner or a few lines of puffy fabric paint for grip, thread, and basic tools — scissors, pins and a sewing machine. Total cost is often under $10, less if you use fabric you already own. A layer of cotton batting in the middle adds absorbency if your pet is a messy drinker.
When choosing your top fabric, favor tightly woven cotton or duck canvas over loose or fuzzy material. A smooth, dense weave wipes clean more easily and resists snagging on kibble or claws. Darker patterns hide the inevitable stains between washes better than pale solids, which is a small choice that keeps the mat looking good far longer.
Cut your pieces
Measure your bowls and add a generous border so splashes land on fabric, not the floor. Cut the top fabric and the waterproof backing to the same rectangle, rounding the corners with a mug as a template so there are no sharp points to curl up. If you’re adding batting, cut it very slightly smaller than the outer pieces so it won’t get caught in the seam. Precise, matching pieces are what make the finished mat lie flat.
If you don’t own a rotary cutter, a sharp pair of scissors and a paper template work fine — just draw your rectangle on paper first, cut it out, and trace around it onto both fabrics so the pieces match exactly. Taking two extra minutes here prevents the lopsided edges that make a first sewing project look homemade in the wrong way.
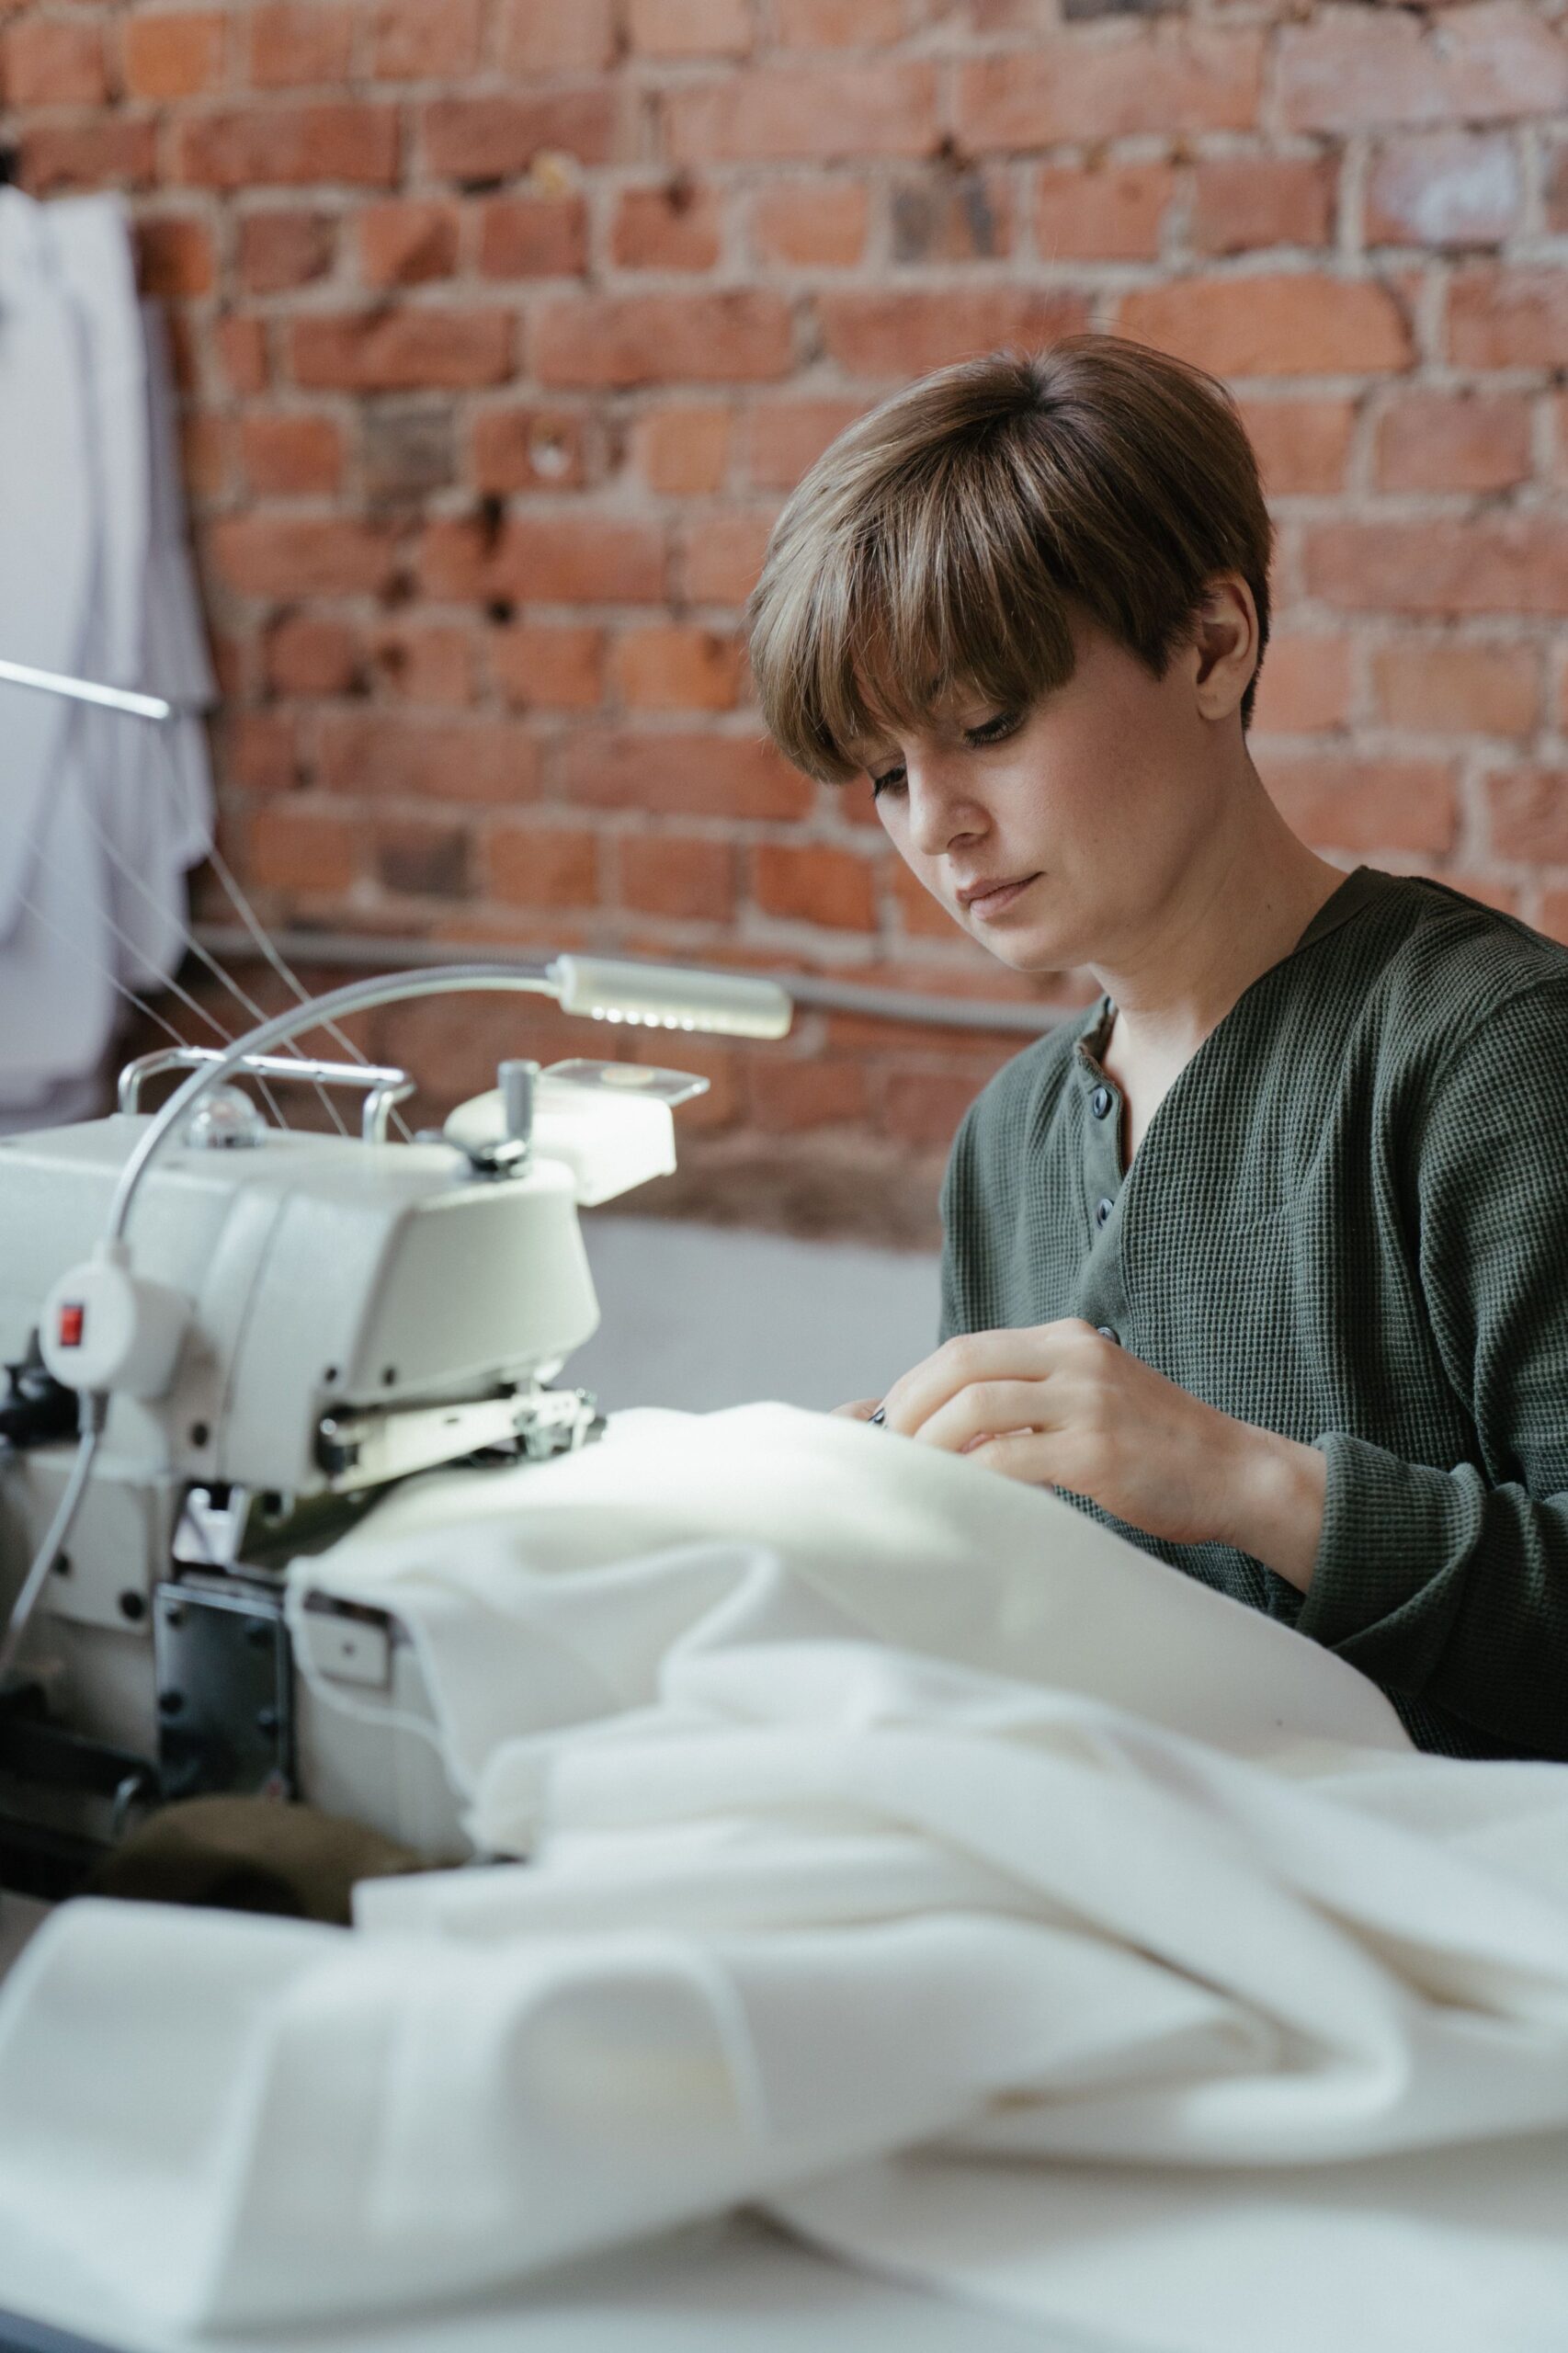
Sew it together step by step
Place the top fabric and backing right sides together, batting on top if using, and pin around the edge. Sew a quarter-inch seam all the way around, leaving a three-inch gap on one side for turning. Clip the corners, turn the mat right side out through the gap, and push the corners out neatly. Press it flat, fold in the open edges, and topstitch around the entire border — this closes the gap and gives a clean finish. That’s the core of how you sew a no-slip pet food mat.
Take your time on the topstitch, since it’s the only stitching that shows. Go slowly around the rounded corners, keeping an even distance from the edge, and the mat will look professionally finished. If your machine tends to skip on the thicker layered section, lengthen the stitch slightly and guide the fabric gently rather than pulling it through.
Add the no-slip grip
A mat that slides is worse than none. Two easy options: sew or fuse a piece of rubbery non-slip shelf liner to the backing, or flip the finished mat over and pipe several wavy lines of puffy fabric paint across the back, then let it cure fully overnight. Both create friction that keeps the mat planted while your pet noses at the bowls. This grip step is the detail that separates a functional mat from a pretty one that scoots around.
For hard floors like tile or laminate, the puffy-paint method usually grips best; on rugs or textured vinyl, the shelf-liner backing tends to hold better. If you’re not sure which surface the mat will live on, do the paint lines — they work reasonably on almost anything and cost pennies. Whichever you choose, test the finished mat by giving it a firm shove before your pet uses it.
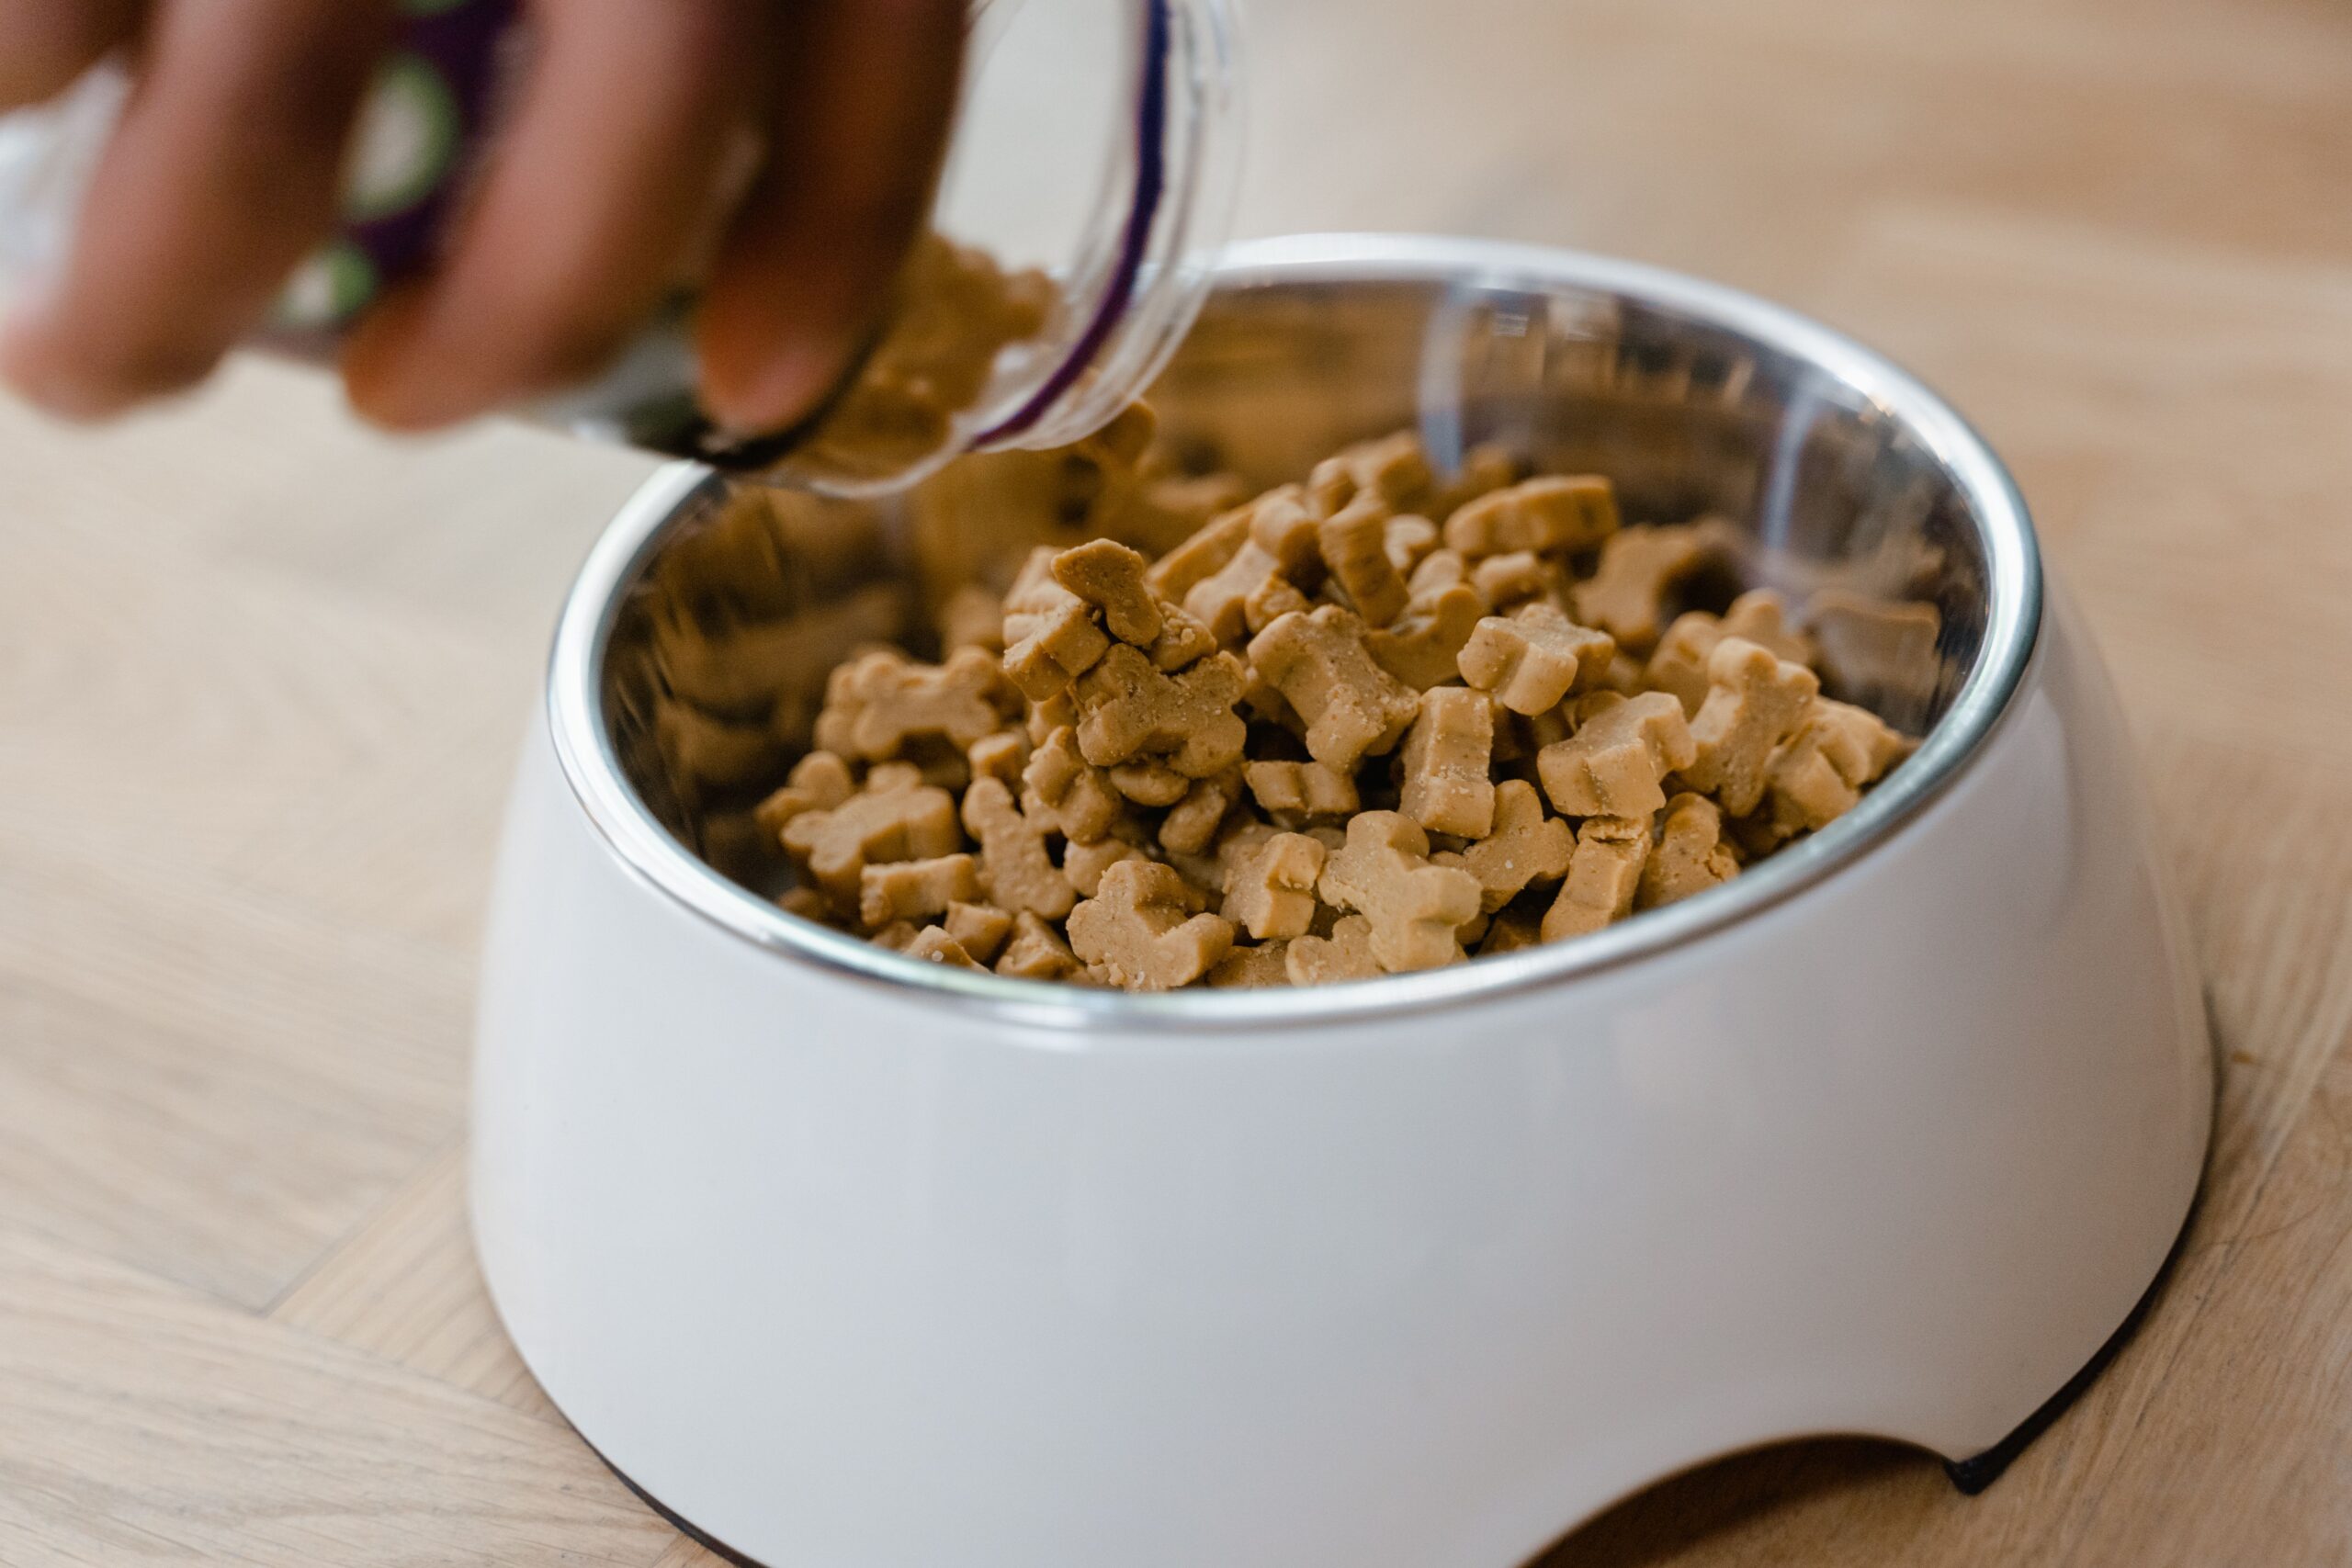
Keep it clean and pet-safe
Choose fabrics and paints that are non-toxic, since this sits under food and your pet will lick around it. Wash the mat regularly — most cotton-and-vinyl versions wipe clean or go in the machine on cold; check that your grip method survives washing. Avoid loose embellishments a pet could chew and swallow. For a quick reference on materials and hazards to avoid around pets, the ASPCA’s poison-control resources are a helpful check.
Puffy-paint grip generally holds up to gentle machine washing once fully cured, but shelf-liner can degrade in hot water, so wash on cold and air-dry to make either version last. Keeping a second mat in rotation means one is always in service while the other dries, which is handy if your pet is a heavy drinker and the mat needs frequent cleaning.
Easy variations to try
Once you’ve made one, adapt it. Add a raised piped edge to contain water better for enthusiastic drinkers, quilt the middle for extra absorbency, or make a travel version in a smaller size that rolls up. Coordinate the fabric with a feeding nook so it looks intentional rather than utilitarian; if you’re styling a whole corner, our other renter-friendly builds like DIY cat shelves use the same no-damage, small-space approach.
You can also scale the pattern up for multi-pet households — just widen the rectangle to fit extra bowls side by side. The method to sew a no-slip pet food mat stays identical no matter the size; only your measurements change, which makes it easy to customize for one cat or three big dogs.
The bottom line on a DIY pet food mat
A food mat is one of the most satisfying twenty-minute projects for a pet owner: cheap, genuinely useful, and simple enough for a first-time sewer. Cut matching waterproof-backed pieces, sew and turn them, topstitch, and add real grip on the bottom. Do that, and you’ll sew a no-slip pet food mat that keeps your floor clean, your bowls in place, and your small feeding space tidy — all for the price of a coffee.
Once you’ve done it once, you’ll wonder why you ever bought one. The whole point of learning to sew a no-slip pet food mat is that it’s repeatable — make one in a fabric that matches your kitchen, another as a gift for a pet-owning friend, and a travel-sized one for the car, all from the same twenty-minute pattern.
Fernanda Amaral writes about making small homes work for pets and their humans — apartment-friendly setups, budget care and organization that actually fits. She shares practical tips tested in real small spaces.