
The morning I found a fresh set of claw marks down the side of my favorite armchair, I did the math on a store-bought scratching post and nearly laughed. The nice ones ran $40 to $70, and the cheap ones fell over the first time my tabby, Marmalade, so much as leaned on them. I was not about to spend a week’s grocery money to save an armchair, so I headed to the hardware store instead.
What I built that afternoon cost under ten dollars, has survived two years of daily abuse, and Marmalade prefers it to anything I could have bought. If you rent, live small, or just refuse to overpay, a DIY cat scratching post is one of the most satisfying afternoon projects you can tackle. Here is exactly how I did it, plus every lesson I learned along the way.
Why cats need to scratch in the first place
Scratching is not your cat being a jerk. It is a deep instinct that keeps their claws healthy, marks territory, and stretches the muscles along their back and shoulders. When you understand that, the goal shifts from stopping the behavior to redirecting it onto something you actually want them to use.
The ASPCA’s guidance on scratching makes the same point: give a cat an appealing, sturdy surface and the furniture damage usually stops on its own. A well-made DIY cat scratching post does that job for a fraction of the retail price.
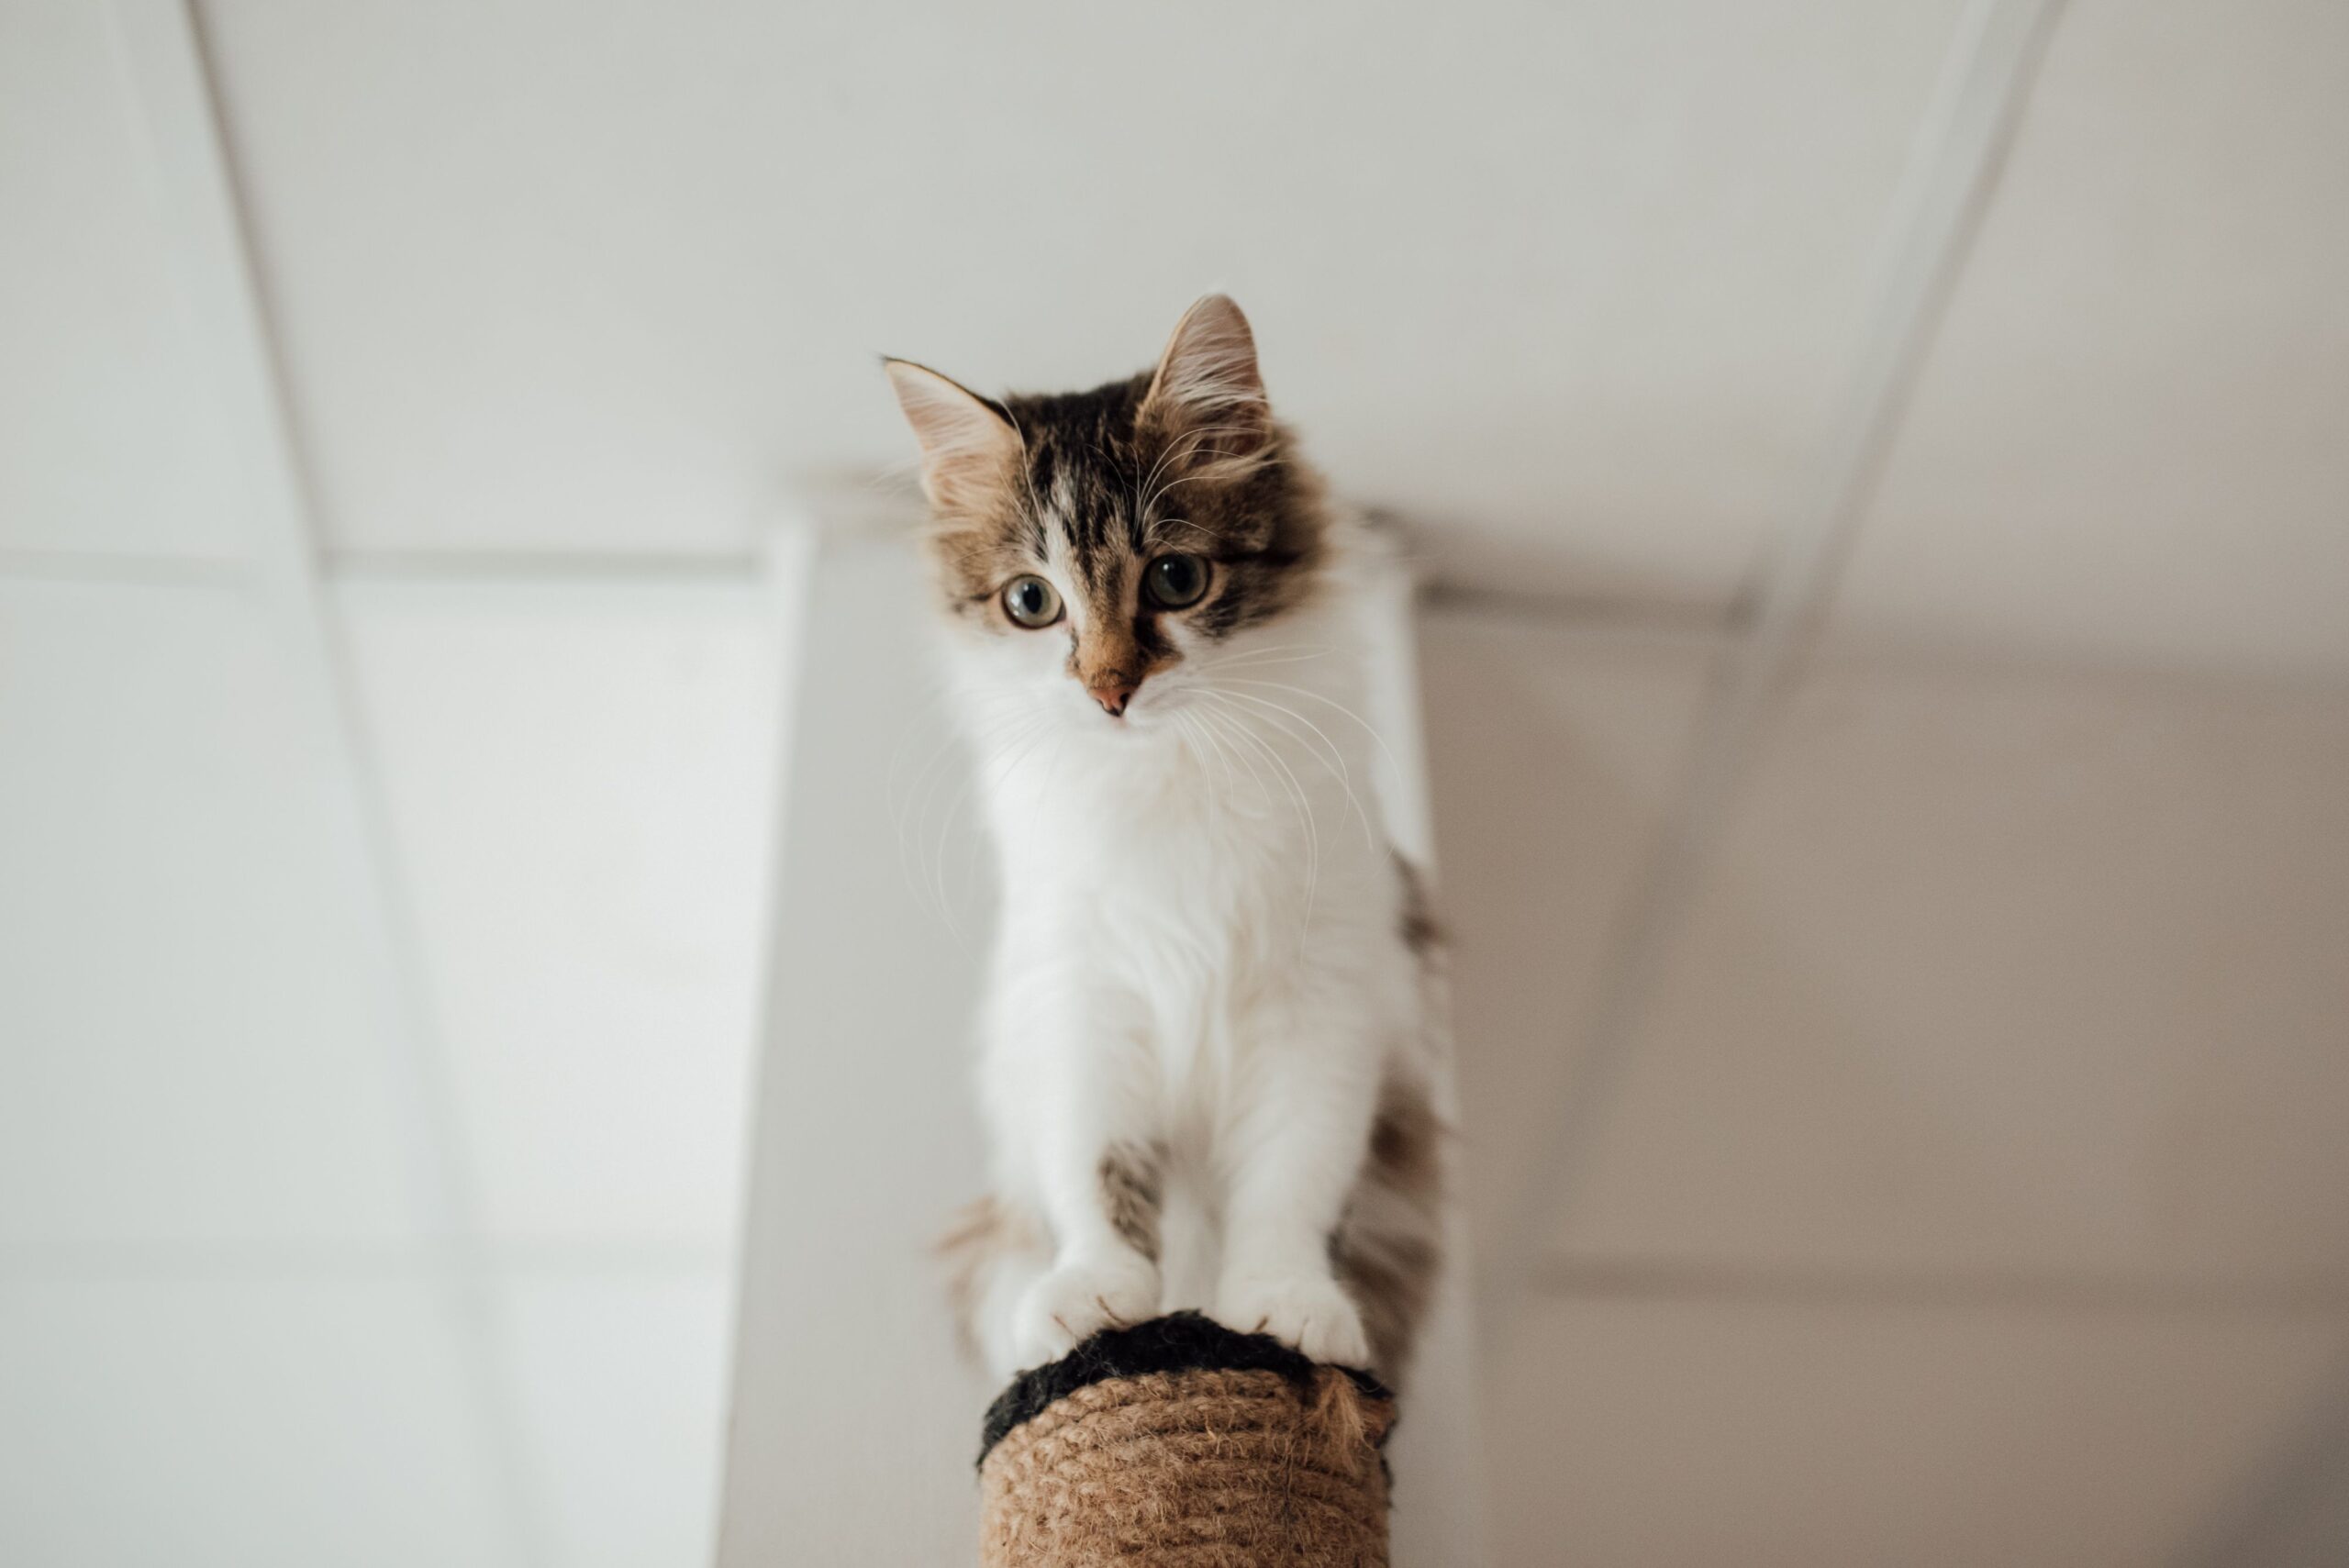
What you need (all under $10)
The beauty of this project is how little it takes. Here is the full shopping list for the classic sisal post:
- A sturdy base — a scrap of plywood or an old wooden cutting board, often free.
- A post — a length of 4×4 lumber or a thick cardboard tube, $2 to $4.
- Sisal rope — about 50 feet, roughly $5 to $7 at any hardware store.
- Wood screws — two or three to fix the post to the base, pennies.
- A hot glue gun or strong glue — likely already in a drawer.
That is genuinely it. Even buying everything new, a DIY cat scratching post lands under ten dollars, and if you scavenge the wood it can cost almost nothing.
Step-by-step build
Start by screwing the post upright into the center of the base from underneath, so no sharp points stick out on top. Make sure it feels rock solid, because a wobbly post is the number one reason cats reject a homemade one. Give it a firm shove; if it tips, widen the base.
Next, dab a little glue at the bottom of the post and start wrapping the sisal rope tightly around it, pressing each loop flush against the last. Add a dot of glue every few inches to lock it in place. Keep the tension high the whole way up, tie off the top, and trim the excess. The whole wrap takes about twenty minutes and is weirdly relaxing.
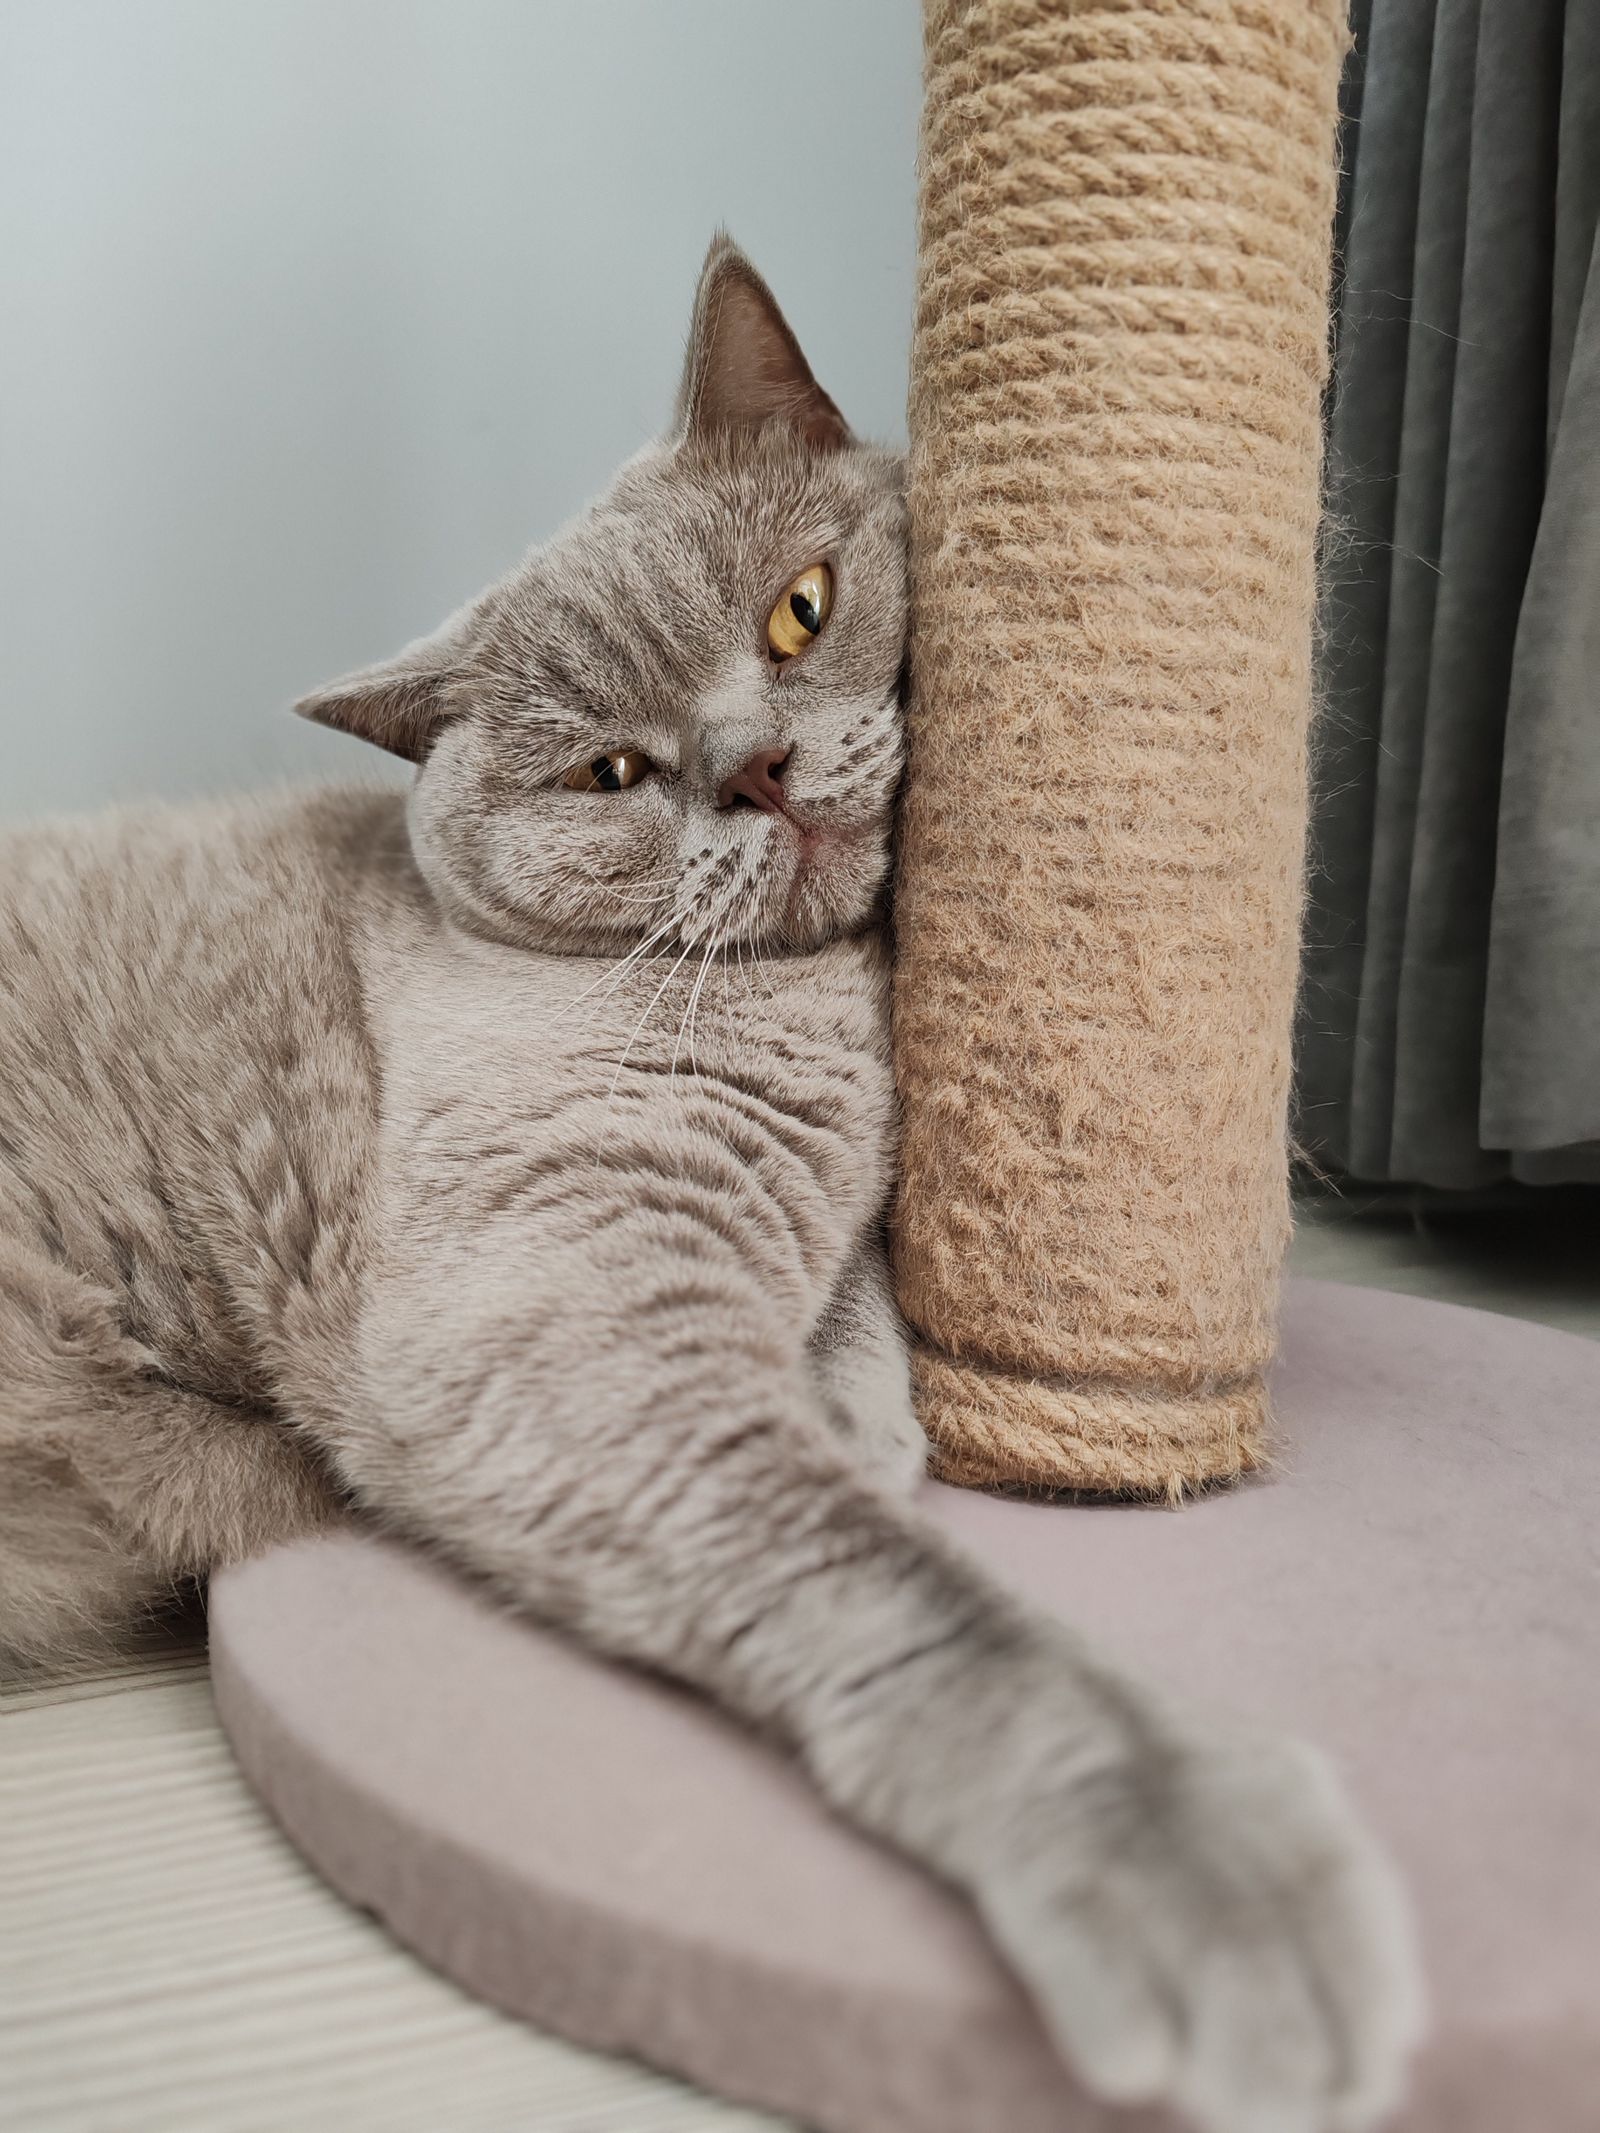
The even cheaper cardboard version
If you have zero budget or no tools, cats love cardboard just as much. Cut flat pieces of corrugated cardboard into strips, stack them so the wavy edges face up, and bind the bundle tightly with tape or glue inside a shallow box. Cats adore digging their claws into that texture, and when it wears out you simply recycle it and build another for free.
This is my go-to recommendation for renters who move often, since it weighs nothing and costs nothing. Keep a spare flattened box or two and you will always have the makings of a new scratcher on hand.
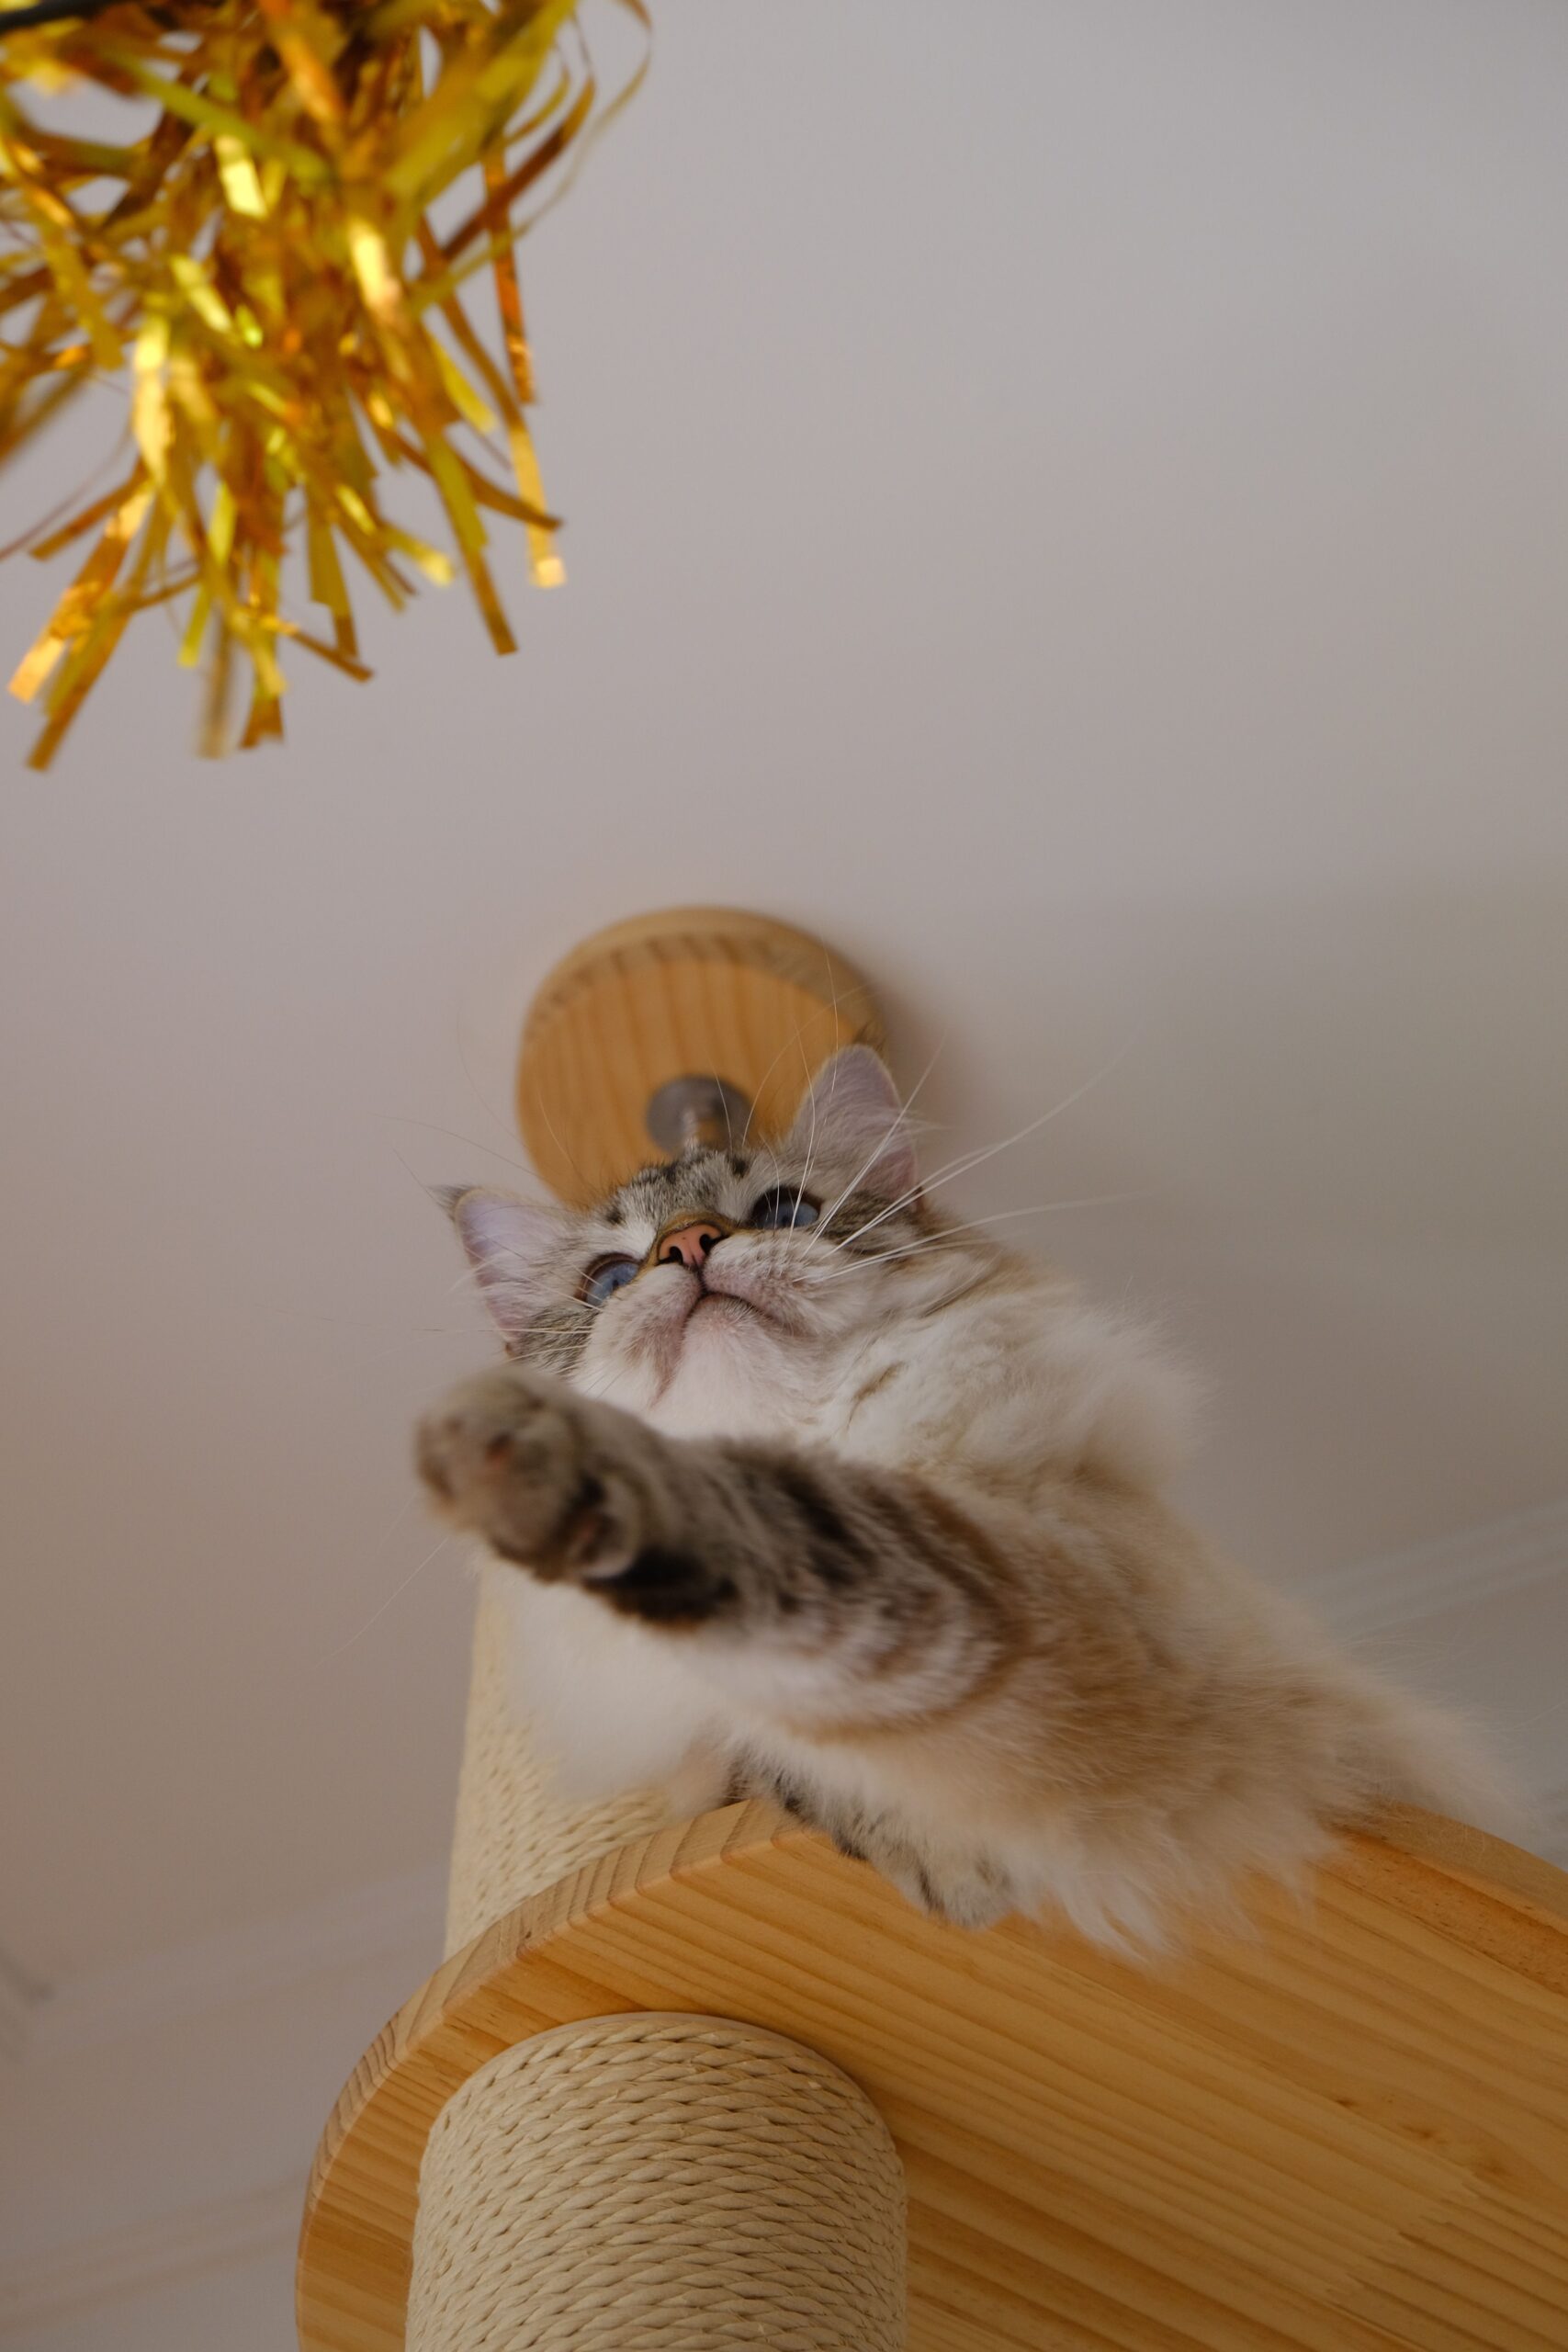
Vertical, horizontal, or angled?
Not every cat scratches the same way, and matching the post to your cat’s style makes all the difference. Some cats are vertical scratchers who reach up high to stretch, while others plant their paws and rake horizontally along the floor. Watch where the damage on your furniture actually is: claw marks up the side of the sofa mean you need a tall vertical post, while shredded carpet points to a flat or angled scratcher.
The good news is that this DIY cat scratching post design flexes to fit. Build the sisal post tall and sturdy for a vertical scratcher, or lay a rope-wrapped board at a gentle slant for a cat that prefers to reach forward. When in doubt, make one of each, since the total cost is still less than a single store-bought unit.
Getting your cat to actually use it
Building it is half the battle; placement is the other half. Put the post right next to whatever your cat is currently shredding, because that is the spot they have already chosen. Rub a little catnip into the sisal, drape a favorite toy over the top, and praise every time they touch it.
Cats stretch when they wake, so a post near their sleeping spot gets used constantly. Once the habit sticks, you can slowly nudge it a few inches at a time toward a more convenient location. For more budget projects in this vein, my post on DIY cat shelves that won’t damage your rental walls pairs perfectly with a scratching post.
Make it last and match your space
When the sisal eventually frays, you do not rebuild the whole thing; you just unwind the old rope and wrap fresh line, a two-dollar refresh. That repairability is the quiet advantage a DIY cat scratching post has over the disposable store versions that head to the landfill.
A few small habits keep it in top shape between rewraps. Trim any loose sisal fibers before they unravel, and keep the base clean so it stays stable on the floor. If you have more than one cat, expect the post to wear faster and plan on a fresh wrap every several months, which is still pocket change compared to replacing furniture.
You can also tailor the look to your apartment. Wrap the base in a fabric scrap that matches your decor, or mount a horizontal scratcher low on a wall to save floor space. If you love this kind of practical build, the IKEA hacks for pet owners guide has more small-space ideas worth stealing.
Troubleshooting a post your cat ignores
If your cat sniffs the finished post and walks away, do not assume the project failed. Nine times out of ten the fix is placement or stability, not the post itself. Move it directly in front of the furniture they were scratching, and double-check that it does not wobble even slightly, since cats will not commit their full weight to something that feels unsteady.
Texture matters too. If your cat prefers the rough weave of sisal but you built a smooth cardboard version, or vice versa, swap materials rather than fighting their preference. A fresh sprinkle of catnip once a week for the first month keeps drawing them back until the habit is locked in. With a little patience, even a stubborn cat will claim a DIY cat scratching post as their own, and your furniture finally gets a break.
Your next step
Grab a scrap of wood and a length of sisal this weekend and give it a try; the whole thing takes one relaxed afternoon. My armchair has been claw-free ever since, and Marmalade got a post she genuinely loves. Start with the cardboard version if you want a no-cost test run, and build up from there once you see how fast your cat takes to it. Once you have made one, you will never look at those overpriced store towers the same way again, and your cat will thank you in the only way they know how: by leaving the furniture alone.
Related reading

Fernanda Amaral writes about making small homes work for pets and their humans — apartment-friendly setups, budget care and organization that actually fits. She shares practical tips tested in real small spaces.